
Welcome to this guide where we will walk you through the step-by-step process of creating your very first Craftsman Play ad. Let's get started!
Firstly, log in to the Craftsman Plus dashboard and click on the “Create Ad” icon at the top of the page.

After clicking “Create Ad,” a pop-up screen will appear. Enter a name for your ad, for example, "Instagram Ad 1", and select "Play" as the ad type.

After this you will move to the 'Select Templates' section. Play offers a variety of templates tailored to different categories, such as games, quizzes, e-commerce, fintech, travel, entertainment, sports, holidays, and automotive.
Remember, you can also create a new ad from scratch or make changes to the default templates already available in the editor.

Select any template. You can choose a template based on its category. Once you select a template, you can also choose the 'Complexity' level you want to work with. The complexity setting allows you to set the customizability of the ad based on what suits you best.
As a starting point for this guide, we recommend using a template that has a Simple complexity level, as it will come pre-set with helpful defaults.

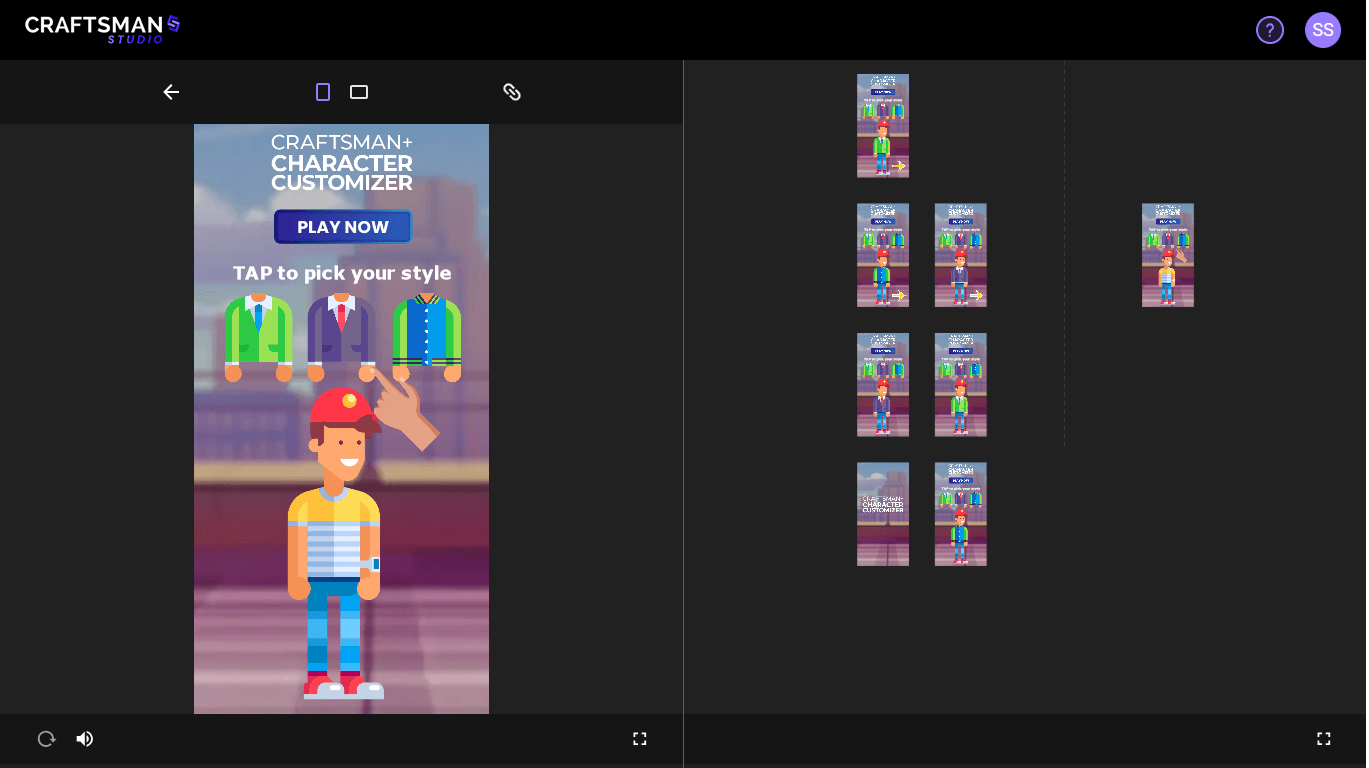
After selecting a template you will be redirected to the Play Editor. Here is where you can customize and design your ad.
In the top left corner of the editor you will see sections for “Layers” and “Assets”. The “Layers” Section includes the global and scene specific layers that make up your ad.

Global Layers
Global Layers are layers that persist across all Scenes. These layers can be Images, Text, Hotspots, Components, or Sequences, offering a versatile range of possibilities to enhance your ad’s visual and interactive elements.
Scenes
A Scene on the other hand is essentially a container for many other assets. Scenes allow you to define a timeline (entering and exiting the scene) in each of which exist a unique grouping of visual elements.

The Asset Panel is located within the left-side panel of the Play Editor, right next to the “Layers” tab. Click on the “Assets” tab to reveal the Asset Panel and manage your Scene’s assets. For both Image and Video assets, the Asset Panel provides two powerful options: “Edit” and “Replace.”

Edit Option
Clicking the "Edit" option opens the Asset Editor, a special tool that allows you to make changes to your asset layers. This means you can modify your assets directly without having to remove and add layers again.

Replace Option
The "Replace" option opens the Asset Library, allowing you to swap the current asset while keeping all your existing settings. It's useful for updating assets or testing different media without losing your customizations.
 Go ahead and swap out an image in your Ad using the Assets panel!
Once you have finished customizing your ad, preview it by clicking on the “Preview” button in the top menu. Make sure that everything is displaying as intended, and the scenes are linked properly. The preview window will allow you to Play and test the ad directly in your browser. Alternatively, clicking the “link” icon will generate a unique URL and QR code that can be shared, allowing others to test the ad on desktop or mobile.

When you are satisfied with your ad, click on the “Export” button. The editor will tell you the file size of your ad and generate multiple file versions that are compatible with each selected ad provider network.Select the ad networks that you want to publish to and click on “Export”. Play will prepare a zip file, which will download to your computer automatically.
You have successfully created your first interactive ad using Play! By following the steps outlined above, you learnt how to start an ad project, choose the right template, and work with various assets in the editor. Remember that Play enables you to create engaging and effective ads with ease and now armed with the knowledge on how to create a basic ad from a pre-set template you're all set to start building more dynamic, captivating ads that will resonate with your audience.
Create, automate, innovate, and turn your creative needs into successful marketing with Craftsman Studio


